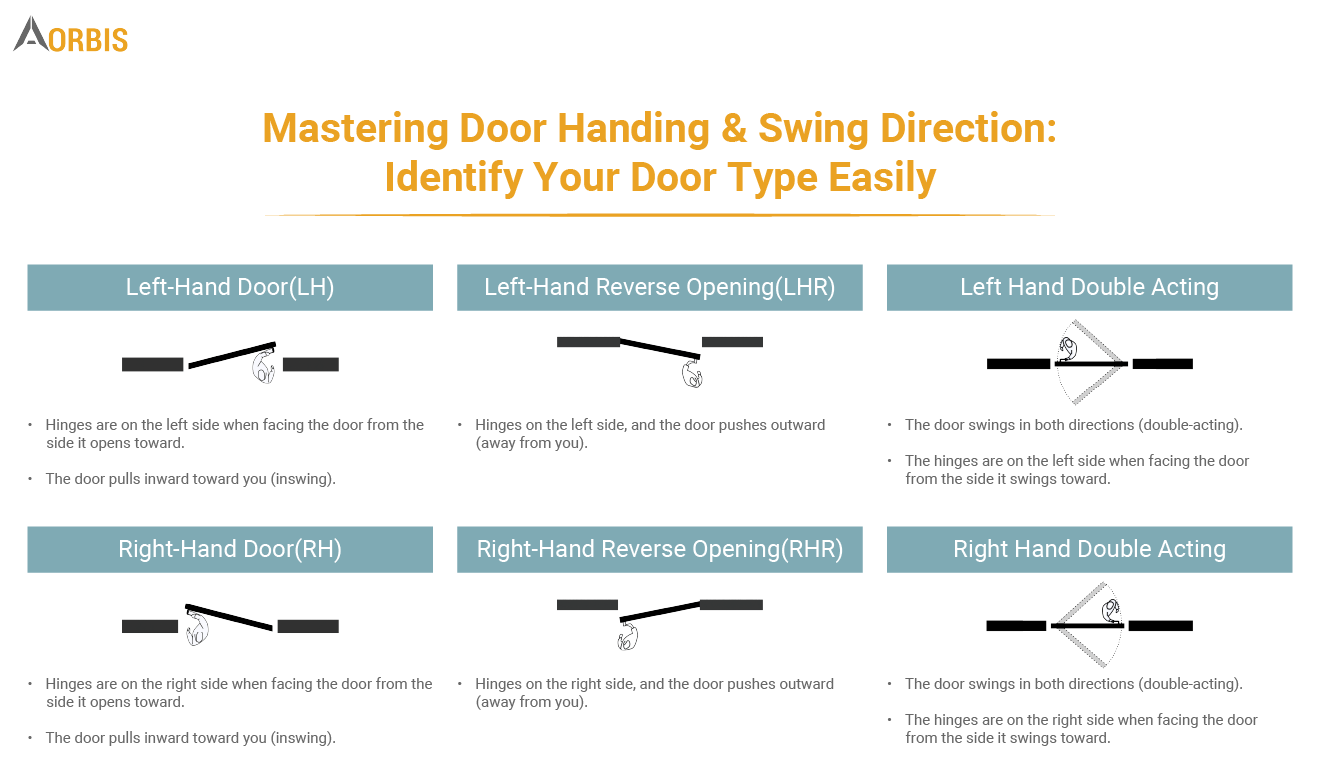
Having an accessible bathroom is essential for people with disabilities or mobility issues. The Americans with Disabilities Act (ADA) sets standards to ensure bathrooms are designed to be usable by everyone, regardless of their physical abilities.
This guide will walk you through the key elements of an ADA-compliant bathroom, from understanding the requirements to practical tips for renovations.
Understanding ADA Requirements for Bathrooms
1. Accessible Route
The bathroom must have an accessible route that allows for easy entry and exit. This means having a clear path free of obstructions, with enough space to navigate a wheelchair or other mobility aids.
2. Door Width and Clearance
ADA complaint bathroom doors should be at least 32 inches wide to accommodate wheelchairs. This requirement should be kept in mind when sourcing door products from door distributors. There must also be enough clearance on both sides of the door for maneuvering.
3. Floor Space and Turning Radius
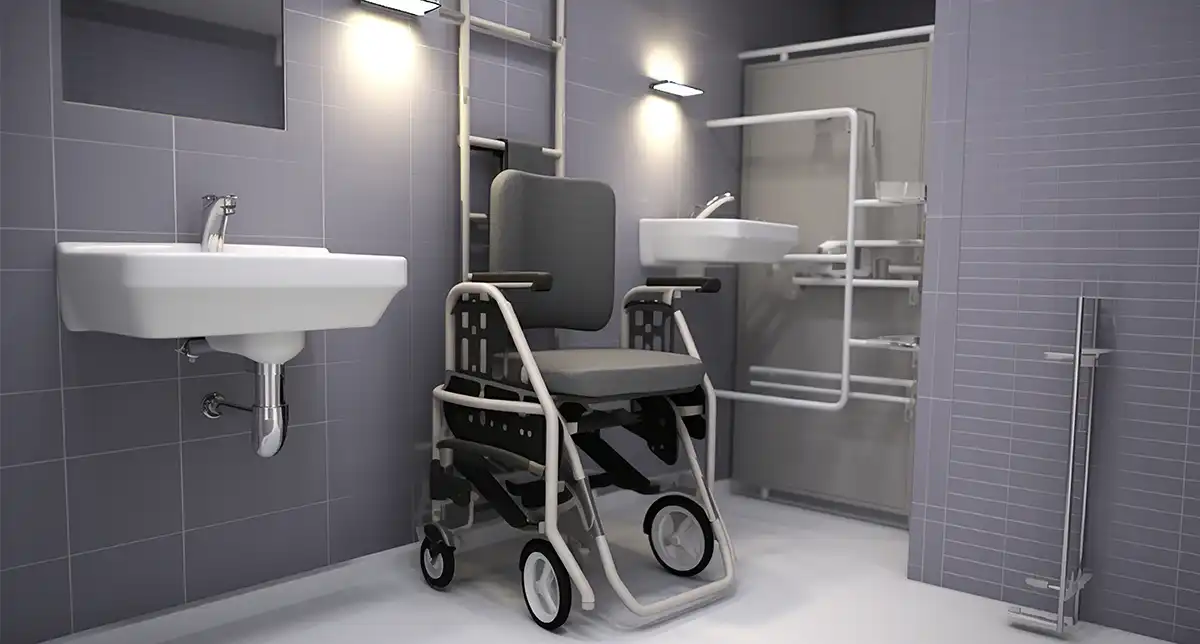
Ada compliant commercial bathroom plans need to have enough floor space for a wheelchair user to turn around comfortably. The recommended turning radius is at least 60 inches.
4. Toilet Specifications
Height: Toilets should be between 17 and 19 inches high from the floor to the top of the seat.
Clear Floor Space: There must be at least 60 inches of clear floor space in front of the toilet for wheelchair access.
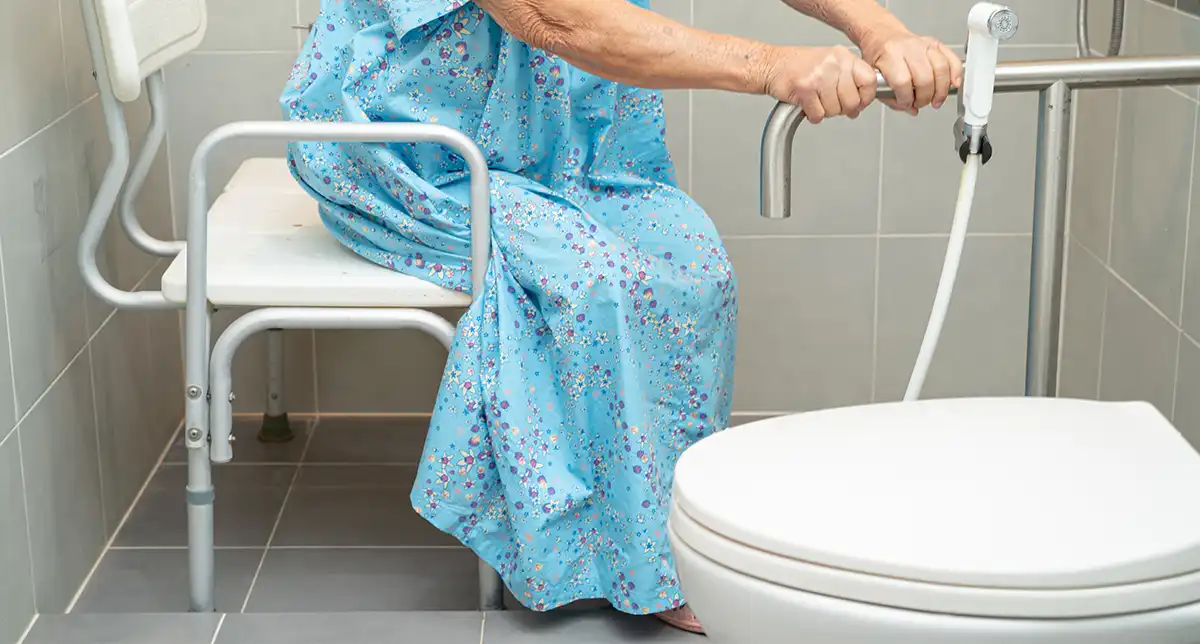
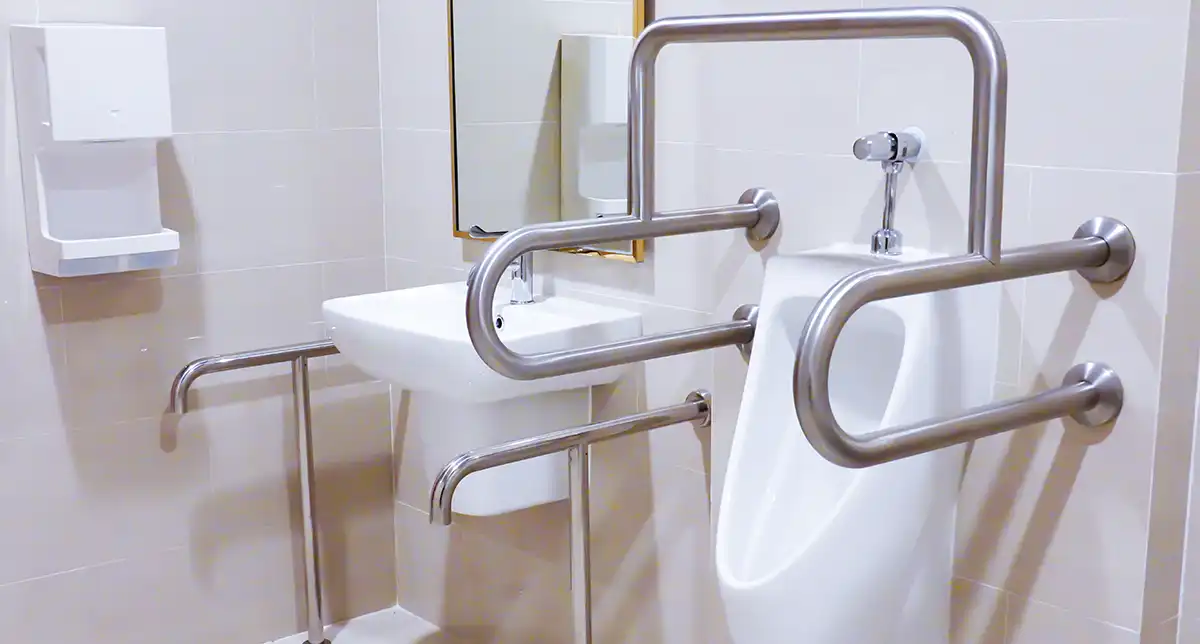
Grab Bars: Ada complaint grab bars for bathroom should be installed on the wall next to the toilet, as well as behind it, to aid in transferring on and off.
5. Sink Requirements
Height and Knee Clearance: Sinks need to be mounted at a height that allows for knee clearance underneath for wheelchair users.
Faucet Controls: Faucets should be easy to operate with one hand, such as lever-style handles.
6. Shower and Bathtub Specifications
Size and Threshold: Showers should be at least 36 inches wide and 36 inches deep, with a low threshold for easy entry.
For those seeking enhanced accessibility, a roll-in shower is an excellent option. They are designed to be spacious enough to accommodate a wheelchair, allowing it to pull in completely and still have room to close the door or curtain.
The threshold should not exceed ½ inch in height and must be properly beveled to comply with ADA guidelines, making entry and exit much safer and more convenient.
Ada complaint Grab Bars for bathroom: Must be installed in showers and tubs for safety and support. It provides stability for users of all abilities and prevents slips.
Shower Seats: Built-in or portable shower seats should be provided. While roll-in showers do not require added seating for wheelchair users, including a seat benefits those who prefer or need to sit while bathing.
Hand-held Shower Head: A hand-held shower head with a hose at least 59 inches long is required. This flexible design makes it easier for all users, including those seated, to shower comfortably and independently.
7. Accessories (Towel Bars, Mirrors, etc.)
Bathroom accessories like towel bars, mirrors, and dispensers should be installed at accessible heights and locations. When sourcing these items, consult with bathroom accessories distributor to ensure ADA compliance for product selection and placement.
Planning and Design Considerations
1. Bathroom Layout and Space Planning
When designing an ADA-compliant bathroom, careful space planning is mandatory. Consider the placement of fixtures, clearance requirements, and maneuvering space.
2. Choosing Accessible Fixtures and Materials
Select fixtures and materials that are easy to use and maintain. Look for features like lever handles, non-slip surfaces, and contrasting colors for better visibility.
3. Lighting and Contrast
Adequate lighting and contrast are essential for visibility and safety. Use bright lighting and consider colors that provide good contrast between surfaces and fixtures.
4. Slip-Resistant Flooring
Choose slip-resistant flooring materials to prevent accidents and ensure safe mobility within the bathroom.
Tips for Renovating an Existing Bathroom
Renovating an existing bathroom to meet ADA compliance can be challenging, especially in older homes or buildings. However, with careful planning and the right strategies, it’s possible to create an accessible bathroom that meets the needs of everyone. Here are some tips to help you navigate the process:
1. Assessing the Current Bathroom
Before starting any renovation work, it’s important to assess the existing bathroom thoroughly. Take detailed measurements of the space, note the locations of plumbing fixtures, ada compliant bathroom doors, and windows, and identify any potential structural limitations. This assessment will help you determine what modifications are necessary and feasible.
2. Addressing Structural Limitations
Structural limitations, such as narrow doorways, low ceilings, or limited space, can pose significant challenges when renovating for ADA compliance. In some cases, you may need to consider relocating or reconfiguring fixtures or even exploring options for expanding the bathroom’s footprint.
If structural changes are not possible or feasible, you may need to get creative with your design solutions. For example, you could consider using pocket doors or bi-fold doors to maximize space or installing a curbless shower with a sloped floor to eliminate the need for a threshold. You can get in touch with an expert bathroom accessories distributor for more information and guidance.
3. Temporary Solutions during Renovation
If you’re planning to renovate the primary bathroom in your residential project, it’s essential to have a temporary accessible solution in place during the construction process. This could involve setting up a portable shower stall or temporary grab bars in another bathroom or creating a makeshift accessible area in another part of the home.
4. Budgeting for Upgrades
Be prepared for certain upgrades, such as ADA-compliant faucets and grab bars, to cost a bit more than off-the-shelf options. However, these investments often pay off in the long run by increasing your property’s value and making it more attractive to future buyers or tenants. Plus, choosing modern, well-designed accessibility products can help maintain a residential, non-institutional feel.
5. Maximizing Space
In many existing bathrooms, space can be limited, making it challenging to meet ADA clearance requirements. To maximize bathroom space, consider relocating fixtures or using compact, wall-mounted options. For example, a corner sink or a wall-mounted toilet (which can be sourced from a toilet accessories supplier) can free up valuable floor space.
6. Prioritizing Safety
Safety should be a top priority when renovating an existing bathroom. Incorporate features like ada compliant bathroom grab bars, slip-resistant flooring and adequate lighting to reduce the risk of falls and accidents. Additionally, ensure that any changes or modifications comply with local building codes and regulations.
7. Future-Proofing
While renovating for ADA compliance bathroom plans, it’s also worth considering future-proofing your bathroom. Incorporate design elements that can easily be adapted or modified as your needs change over time.
For example, installing reinforced walls for future grab bar installations or choosing fixtures that can be adjusted in height or position.
Renovating an existing bathroom to meet ADA standards can be a complex undertaking, but with careful planning, creative solutions, and the right professionals, you can create an accessible and functional space that meets the needs of everyone in your household or facility.
Additional Resources
1. ADA Guidelines and Standards
Refer to the official ADA guidelines and standards for the most up-to-date requirements and specifications.
2. Local Building Codes and Regulations
Check with the local building department to ensure the bathroom design complies with all relevant codes and regulations.
3. Accessibility Consultants and Experts
Consider consulting with professionals who specialize in accessible design and ADA compliance for expert guidance and ecommendations.
Where Can You Buy ADA-Compliant Bathroom Accessories?
For ADA-compliant bathroom accessories, trust AORBIS. We are a leading bathroom accessories supplier that offers a wide range of ADA-compliant toilet and bath accessories that meet the highest standards of quality and performance. AORBIS’s expert team can help you select the perfect ADA-compliant bathroom accessories for your projects.
Contact AORBIS today to learn more.
Parting Thoughts
Designing an ADA-compliant bathroom plans is not only a legal requirement but also a matter of inclusivity and accessibility for all. By following the guidelines outlined in this guide, you can create a functional and comfortable bathroom that meets the needs of your clients and projects. Remember, small adjustments can make a significant difference in ensuring independence and dignity for those with disabilities or mobility challenges.
FAQs
Are ADA bathroom plans requirements the same for residential and commercial plan?
While many of the ADA requirements apply to both residential and commercial bathrooms, there are some differences. For example, commercial facilities are held to stricter standards with additional provisions for things like ambulatory compartments and accessible bath/shower controls. It’s important to consult the specific guidelines for your property type.
Can I renovate my existing bathroom for ADA compliance, or do I need to start from scratch?
In many cases, it is possible to renovate an existing bathroom to meet ADA standards by making strategic modifications like widening doorways, reconfiguring fixtures, installing ada compliant grab bars, and ensuring proper clearances. However, extensive structural changes may be required in some older buildings or very small bathroom footprints. Consulting a professional is advisable.
What are some cost-effective ways to make a bathroom more ADA-compliant?
There are several budget-friendly approaches such as installing inexpensive grab bars, switching to lever-style faucet handles, using portable shower seats or benches, and ensuring proper lighting and contrast. Prioritize safety features first, and consider long-term investments that increase accessibility like curbless showers or adjustable-height sinks/toilets when renovating.
What are the legal and financial consequences of not meeting ADA complaint bathroom plans?
Not meeting the ADA-compliant bathroom plan is considered discrimination against individuals with disabilities. This results in significant penalties for organizations that fail to have an ADA-compliant bathroom plan. These legal actions often lead to pricey settlements, along with renovating the existing bathroom plan. This will be more costly than building an ADA-compliant commercial bathroom in the first place. Additionally, staying compliant with ADA bathroom standards protects your reputation. It also ensures the space is accessible to people with special needs.
Does making a bathroom ADA-compliant significantly increase costs?
Some of the ADA complain that bathroom accessories may add initial costs. However, now you can find plenty of ADA-compliant fixtures at a standard price. Invest in elegant and durable bathroom equipment to prevent expensive retrofits later. Choose durable materials like brass and ADA-compliant product lines to get the best deal for your purchase.
What’s the difference between a walk-in shower and a roll-in shower?
A walk-in shower has a low threshold, which means it is easy to get into with a low step. It is ideal for people who can lift their feet a little. Additionally, add ADA-compliant bathroom grab bars, slip-resistant flooring, and a bathroom seat to improve accessibility for everyone.
On the other hand, a roll-in shower has no step or curb. So, a person with a wheelchair can easily roll in without any barriers. Thus, choose your shower type based on the person’s mobility.
How can I ensure accurate ADA compliance?
While selecting ADA-compliant bathroom accessories, like grab bars or faucets, make sure you choose a reputable brand. Another equally important step for an ADA-compliant bathroom plans is installation. If the grab bar or any accessibility accessories are not at the right height, they will be of no use. Go through all the building rules specified for ADA. Work with a certified access specialist to stay legally compliant.
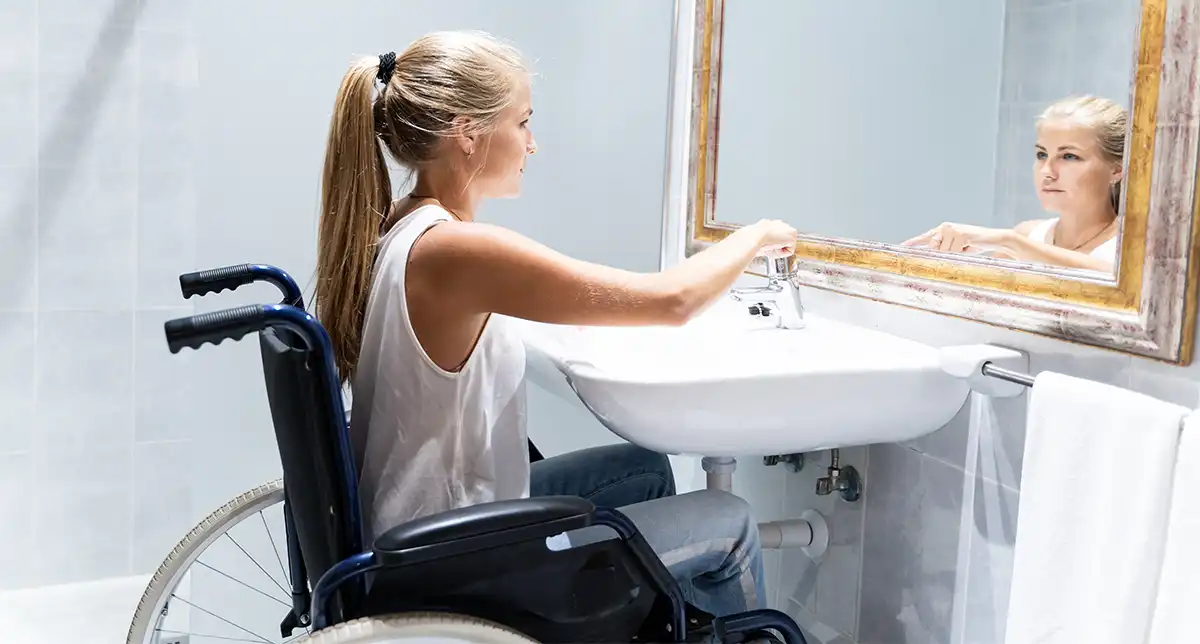
![ADA Requirements for Bathrooms [Informative Infographic]](https://www.aorbis.com/wp-content/uploads/2025/01/ADA-Requirements-for-Bathrooms.jpg)
